Create a VM Class with Nested Virtualization Enabled
Update - 2026-01-24
It appears that this workaround isn’t required anymore as of VCF 9.0.2. After upgrading my VCF environment to 9.0.2, I am now able to select the hardware virtualization option when creating and modifying a VM class from the vSphere UI. If you’re in a VCF 9.0.2+ environment and need to create a VM class with nested virtualization enabled, please first attempt to create it from the vSphere UI.
VMware has recently been pushing vSphere Supervisor in a big way. If you’re not familiar with vSphere Supervisor, it’s a Kubernetes API that’s deployed directly on top of vSphere. This allows you to manage some vSphere resources, such as VMs, by using Kubernetes tools. VCF Automation in particular is a really big user of vSphere Supervisor. The new All Apps organization requires vSphere Supervisor and NSX VPCs to use it.
If you looked into using this to create a VM with nested virtualization, you might have noticed that there’s no option to enable that setting in the VM resource manifest. While it’s possible to manually enable hardware virtualization from the vSphere UI after deploying a VM, that’s clearly not the preferred way to do it.
What you need to do instead is create a custom VM class with hardware virtualization enabled. If you try to create it through the vSphere UI, you’ll notice that the box to enable hardware virtualization is greyed out and disabled by default.
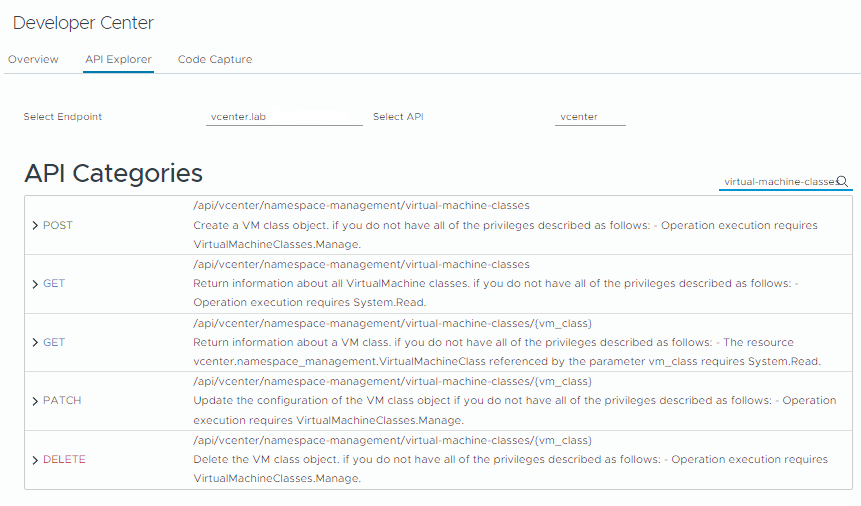
What you need to do is create the VM class through the API, instead. If you don’t want to dig out Postman, you can simply navigate to the API Explorer in the Developer Center of vSphere. Search for the API endpoint /api/vcenter/namespace-management/virtual-machine-classes that uses the POST method.
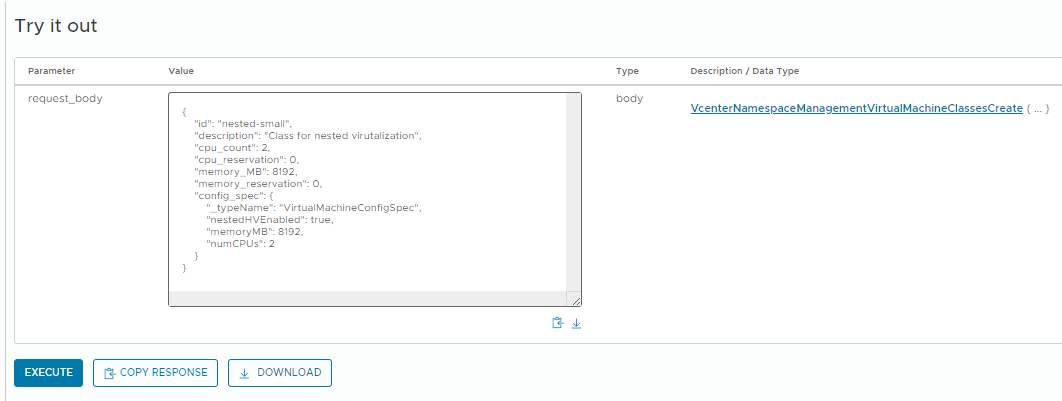
The key thing the API lets us do is specify a config_spec. There we include the nestedHVEnabled setting to control whether hardware virtualization is enabled for a VM. See below for an example.
{
    "id": "nested-small",
    "description": "Class for nested virutalization",
    "cpu_count": 2,
    "cpu_reservation": 0,
    "memory_MB": 8192,
    "memory_reservation": 0,
    "config_spec": {
        "_typeName": "VirtualMachineConfigSpec",
        "nestedHVEnabled": true,
        "memoryMB": 8192,
        "numCPUs": 2
    }
}
config_specwould probably work without thememoryMBandnumCPUssettings. But the default VM classes include those settings in their ownconfig_specblocks, so I figured it’s better to stay consistent.
Modify this block with your desired settings and paste it into the request_body parameter of API Explorer. Now click the “execute” button. If all goes well, you should see Status: 204, OK in the response field.
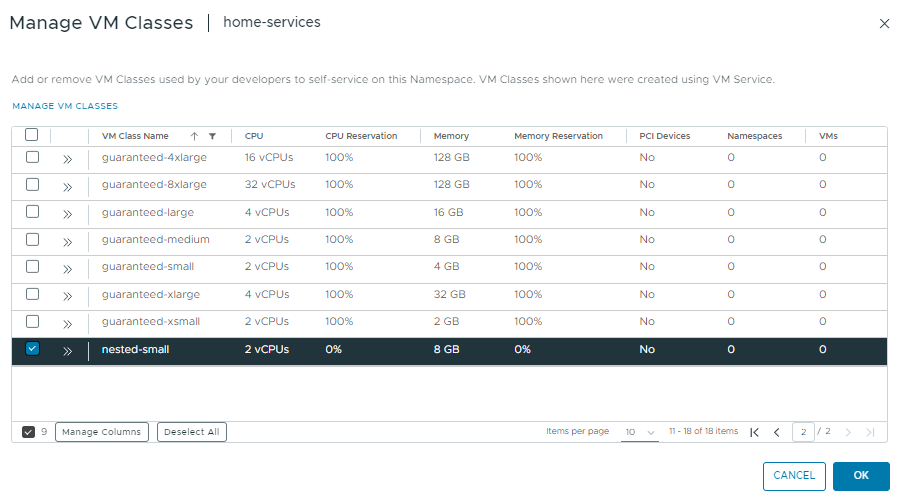
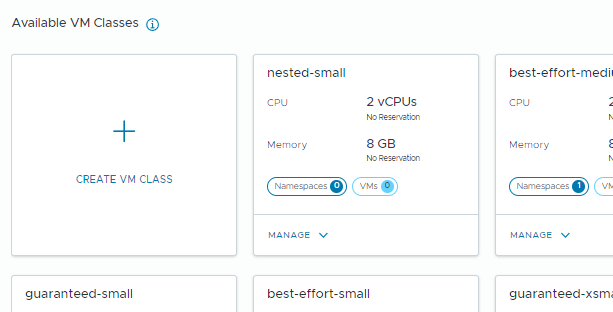
You should now see this VM class available within the VM Service menu.
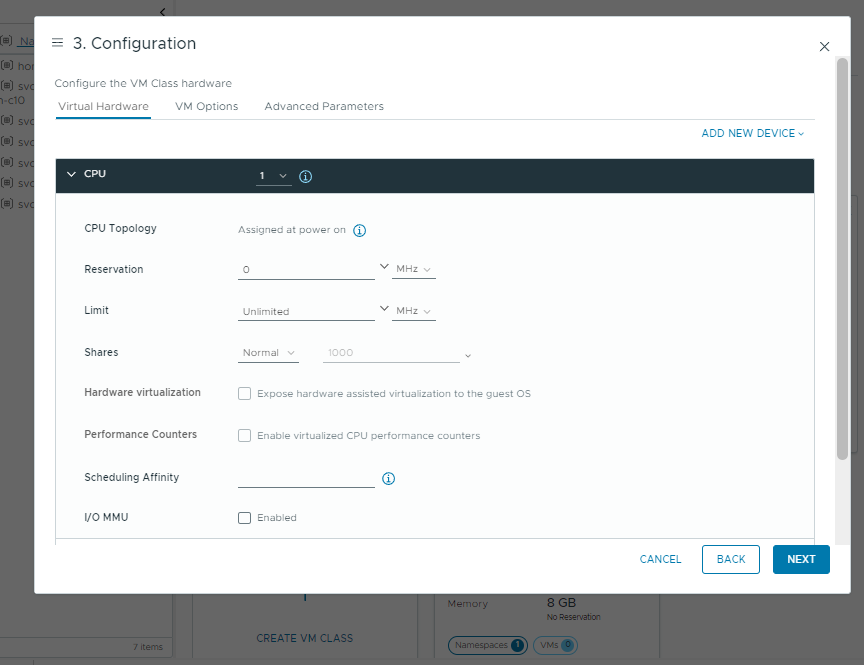
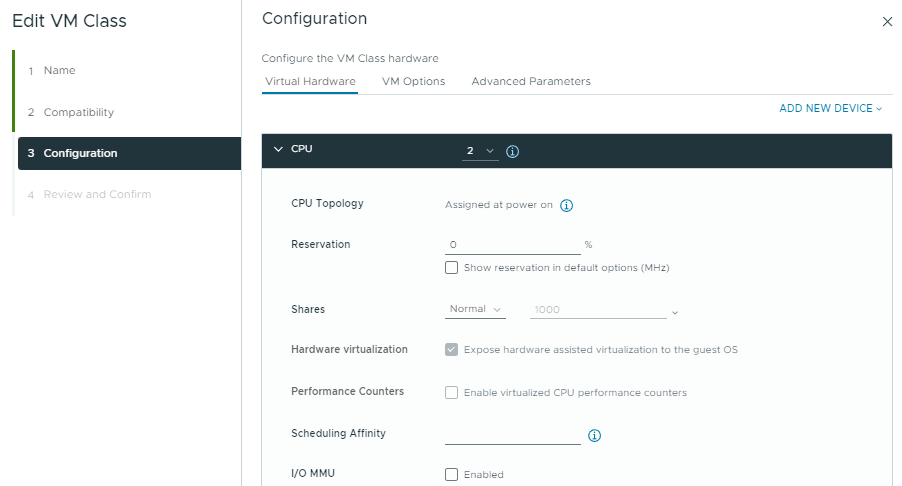
If you edit it and look at the CPU configuration, you can confirm that hardware virtualization is enabled.
Associate this new VM class with your desired supervisor namespace and you can begin deploying VMs that use nested virtualization!